Research and Class Groups
THIS SITE IS DEPRECATED
We have transitioned to another service and are no longer actively updating this site.
Refer to our new documentation at: hpcdocs.hpc.arizona.edu
Research Groups
Overview
If you are a faculty member who has registered for an HPC account, a research group with your UArizona NetID name has automatically been created for you. This group has an allocation of CPU hours associated with it as well as communal storage for your data.
To add members to your research group, go to https://portal.hpc.arizona.edu/ and click the Manage Groups tab at the top of the screen. Click your group's dropdown tab, click Add Member, enter the user's UArizona NetID in the box that appears, and select Add. To add members in bulk, you may also select Upload Member List and upload a CSV file of UArizona NetIDs.
Adding Users
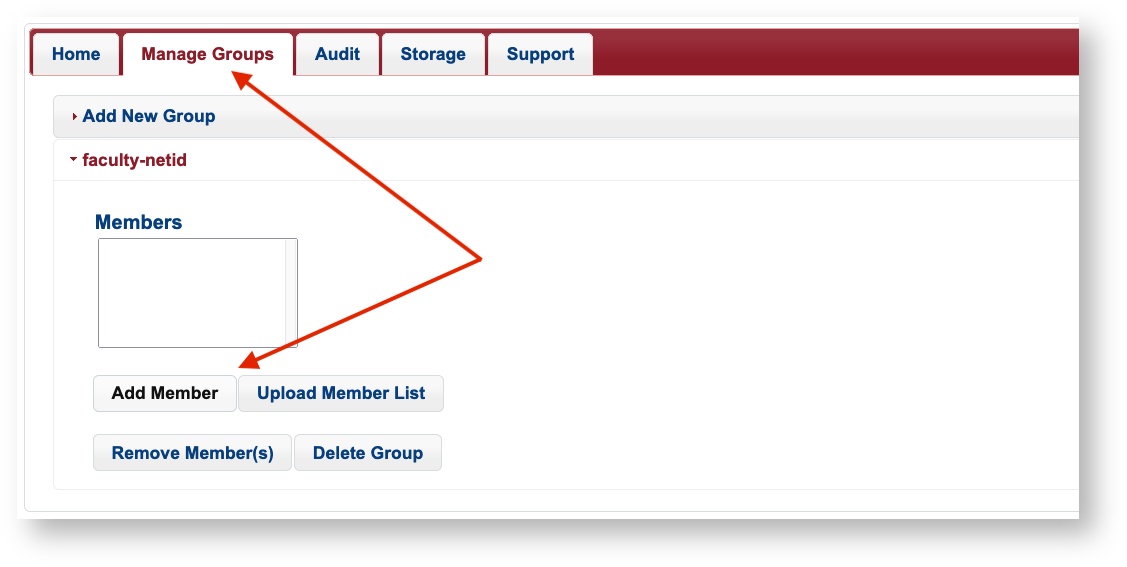
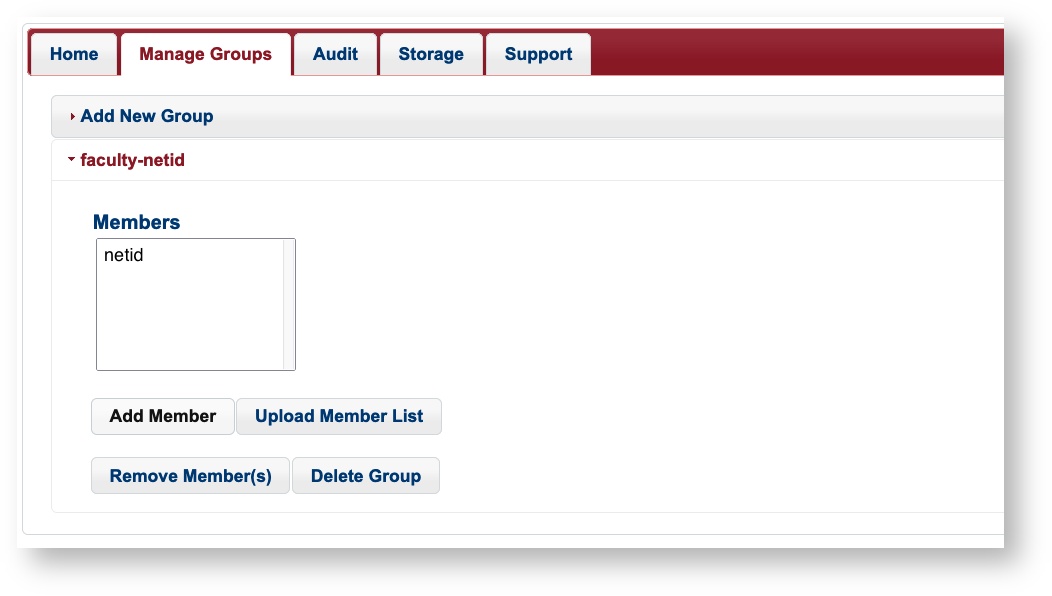
Adding users to your research group will sponsor them for access to HPC and give them access to your compute and storage allocations. Users can be a member of multiple research groups. To add a user, go to the user portal, navigate to the Manage Groups tab, and select your group's dropdown tab. From there, select Add Member:
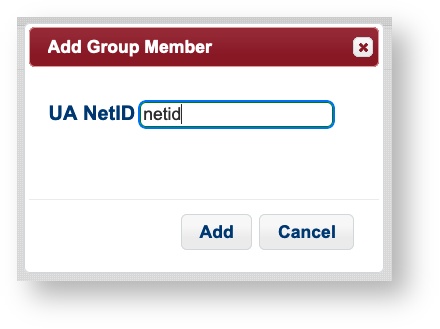
In the window that pops up, enter the user's university NetID and click Add.
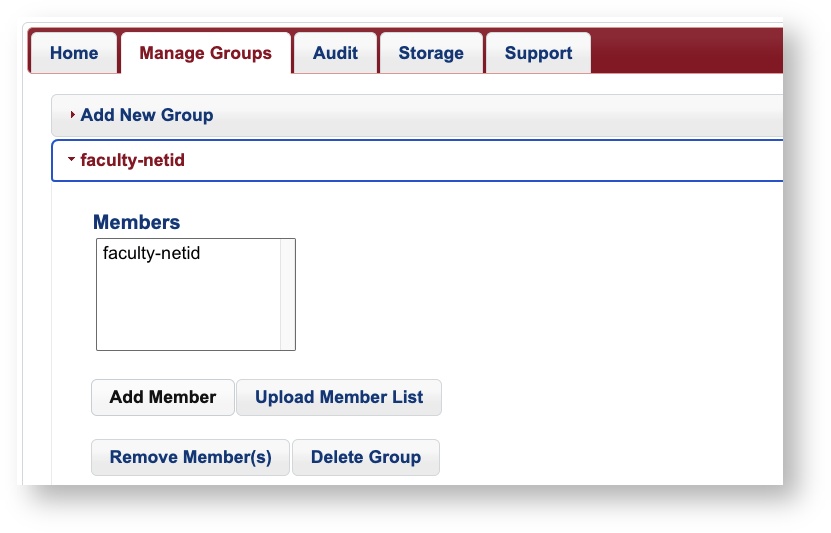
The process may take a few seconds to complete. Once the changes have taken place, you will see the user's NetID in your group:
Creating a New Group
A new group can be created at any time through the user portal. New groups will share their time and storage allocations with your primary group. Alternate research groups can be a good solution for managing file permissions. For example, if you needed to restrict access of a particular directory to a certain subset of your group, you could do this by creating a new research group, adding the group members who need access to those files, and then changing the group ownership of the files/directories that need restricted access.
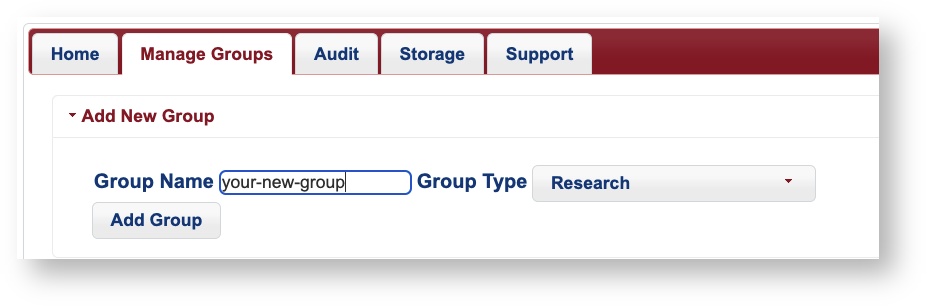
To create a new group, log into the user portal, select the Manage Groups and select the Add New Group dropdown menu.
Once your group has been created, you will see it when running va in the same cluster as your primary group:
(puma) [faculty-netid@junonia ~]$ va
PI: parent_1206 Total time: 7000:00:00
	Group: faculty-netid Time used: 0:00:00 Time encumbered: 0:00:00
	Group: your-new-group Time used: 0:00:00 Time encumbered: 0:00:00
	Total used: 0:00:00
	Total encumbered: 0:00:00
	Total remaining: 7000:00:00
Class Groups
If you are interested in having an HPC staff member come to your class to do an Intro to HPC presentation, reach out to our consultants.
If you are a faculty member and are teaching a course that makes use of HPC resources, you can create a Class Group that will grant your students system access. Class groups are designed to be created and used for one semester only.
Creating a Class Group
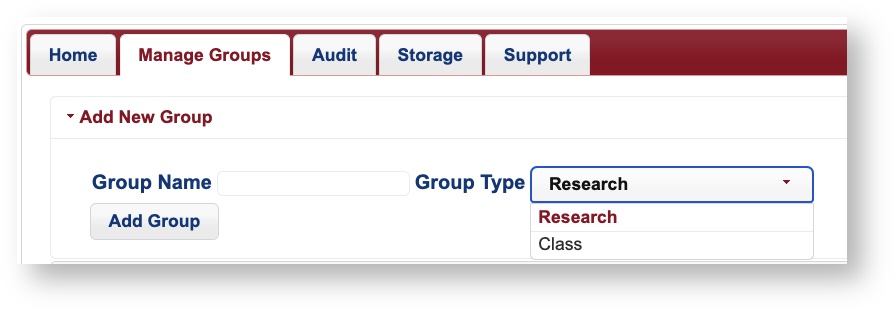
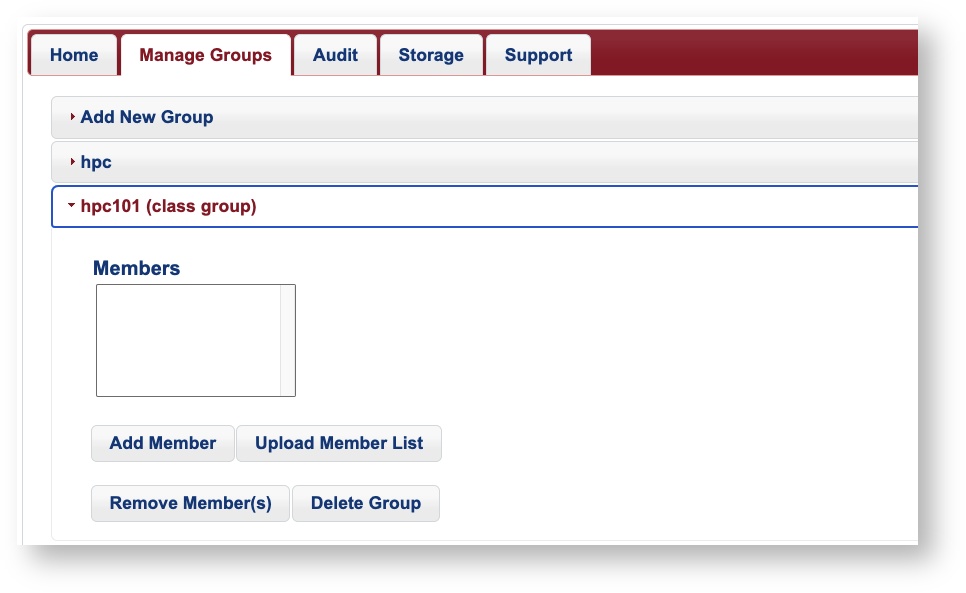
Log into your HPC Portal, navigate to the Manage Groups tab, and select the Add New Group dropdown option at the top of the page. There will be an option to specify your Group Type on the right. Choose Class from the dropdown menu
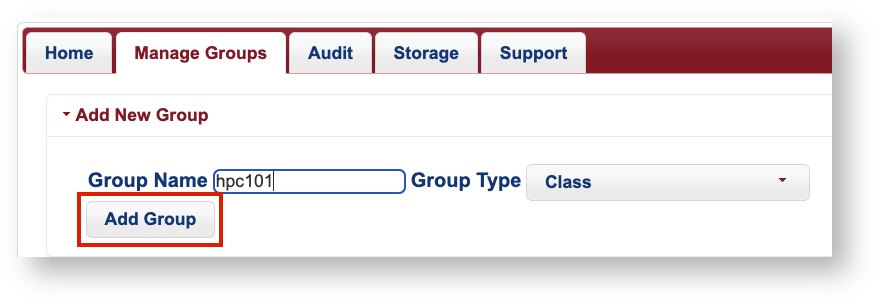
Under Group Name, enter something descriptive and then complete the process by clicking Add Group.
Once this process is complete, you can find your group's dropdown tab under Manage Groups. There you can add students either individually or in batch by uploading a CSV file with your student's NetIDs. You may also remove students from the group by clicking their NetIDs and then selecting Remove Member(s), or delete the group itself by selecting Delete Group.
File Permissions and Storage
Students in your class group will only be able to access files and directories owned by the class group. This means they will not be able to access files and directories owned by your standard research group.
Running Jobs and Allocations
Due to Arizona sales tax restrictions, class groups may only using the windfall queue on Puma. However, standard hours may be used by students on Ocelote. To submit standard jobs on Ocelote, students will use the class group's name for the --account SLURM directive. For example:
#SBATCH --account=hpc101
#SBATCH --partition=standard
Standard hours used on Ocelote are pulled from the same pool as your research group. If you run the command va, you will see the class group as being nested under the total time allocated to your primary research group as well as any others you may have created. Students will not see the names of your other research groups if they run va unless they are members.
(ocelote) [faculty_netid@wentletrap ~]$ va
Windfall: Unlimited

PI: parent_000 Total time: 35000:00:00
	Group: hpc101 Time used: 0:00:00 Time encumbered: 0:00:00
	Group: faculty_netid Time used: 0:00:00 Time encumbered: 0:00:00
	Total used: 0:00:00
	Total encumbered: 0:00:00
	Total remaining: 35000:00:00
For more information, see Allocation and Limits and our SLURM Documentation for details on job submission directives.
Delegating Group Management Rights
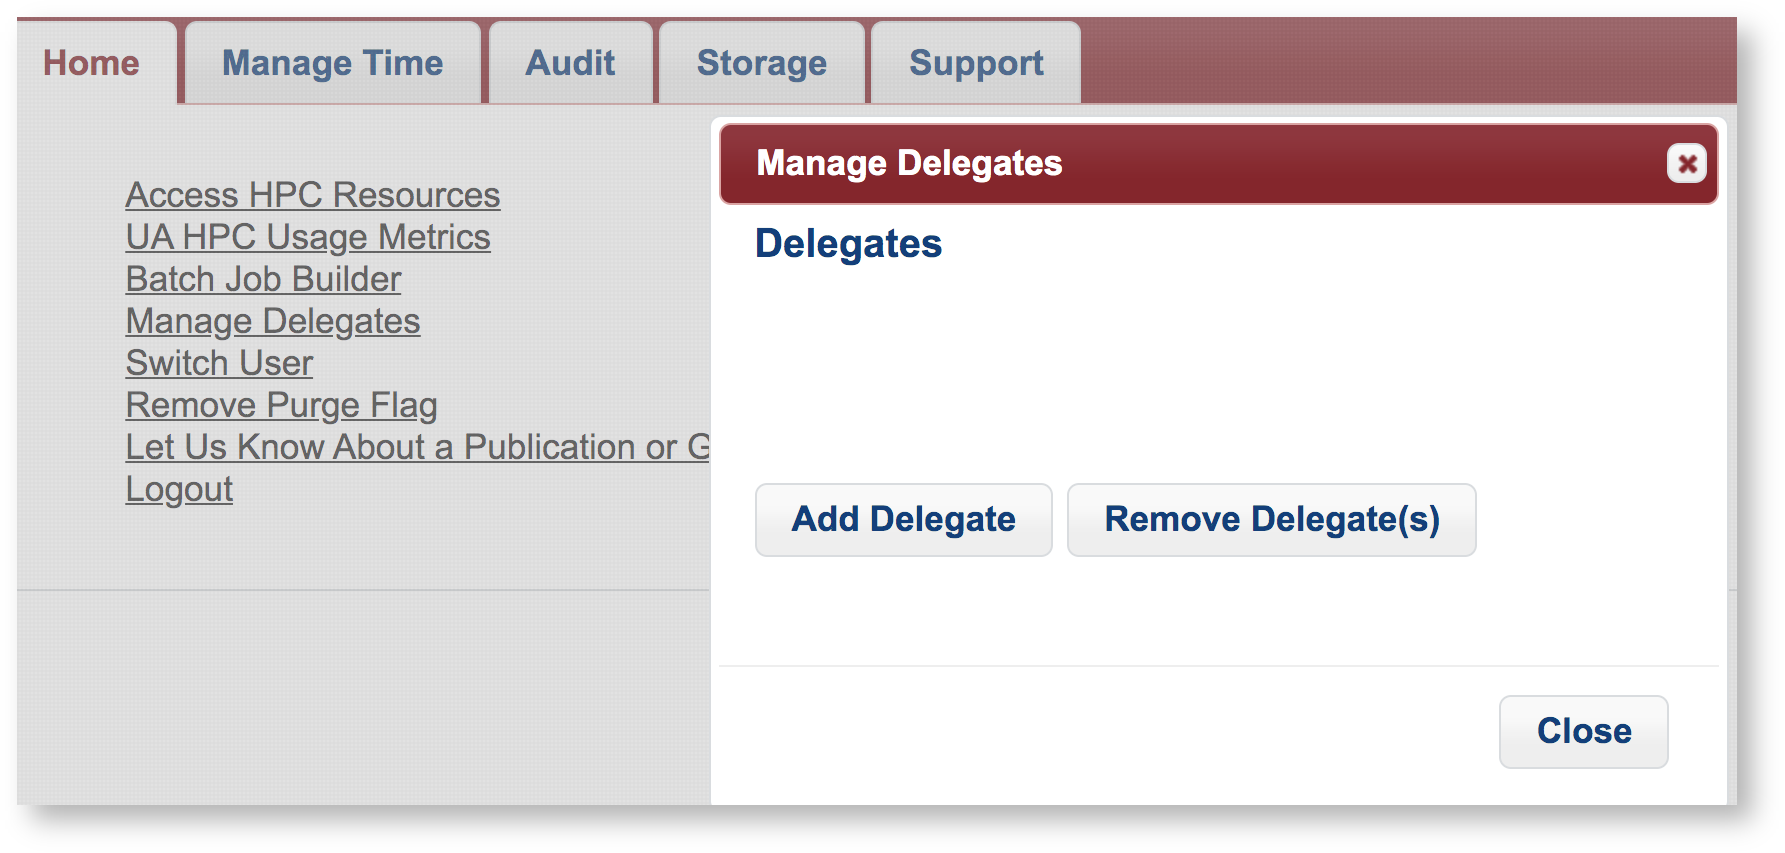
PI's can delegate management rights to trusted group members. Delegates may create research and class groups, sponsor users, remove users, and request and manage storage offerings on behalf of their faculty sponsor. To add a group member as a delegate, the PI can click the Manage Delegates link on the home page of the user portal. In the Manage Delegates window that appears, select Add Delegate, enter your group member's NetID, and click Add.
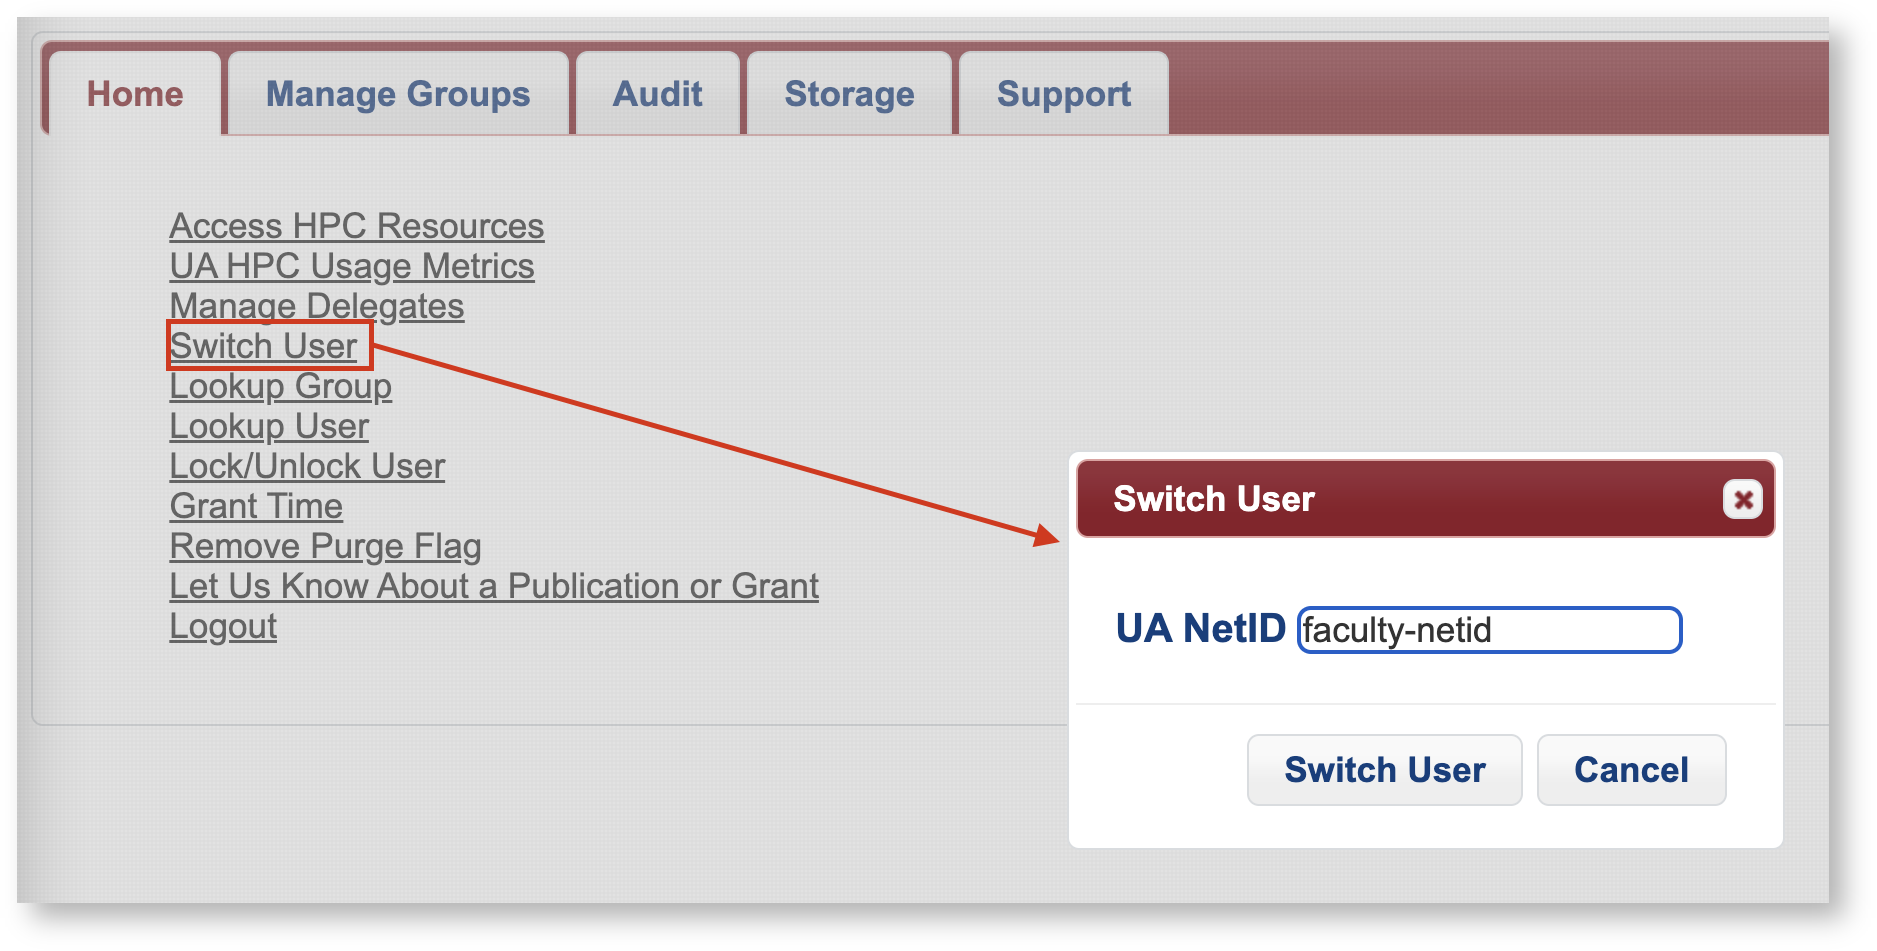
Once a group member has been added as a delegate, they can log into the user portal, selecting Switch User, enter their PI's NetID in the pop-up field, and click Switch User. This will allow them to perform functions on their PI's behalf. They may switch back to their own account at any time by selecting Switch User and entering their own NetID.